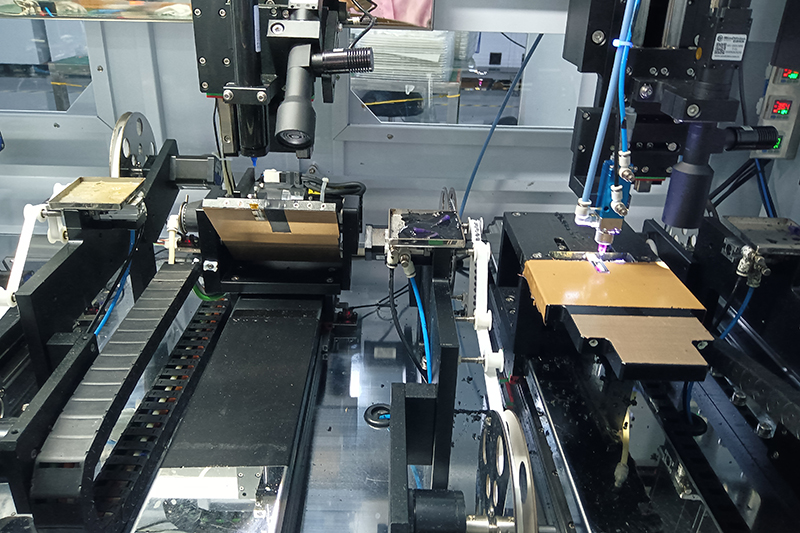
OLED Production Process Diagram
●●●●●●●●●●●●●●
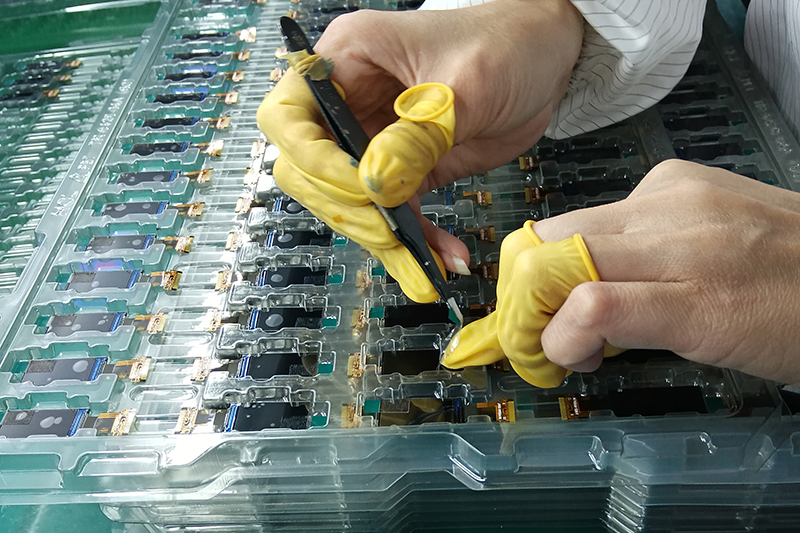
1. Cut
2. Go online
3. Patch
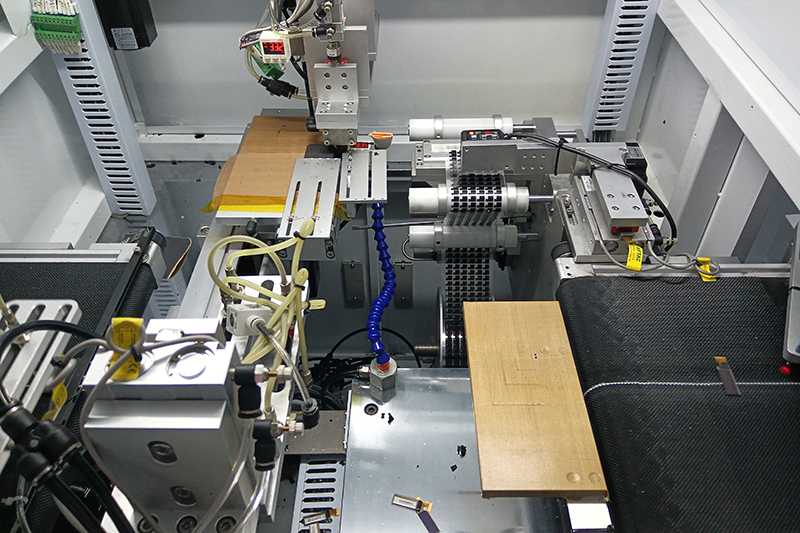
4. Clean the LCD terminal
5. COG pre-payment
6. IC preload
7. Intrinsic pressure
8. Pay after TAB
9. FOG prepressure
10. FOG local pressure
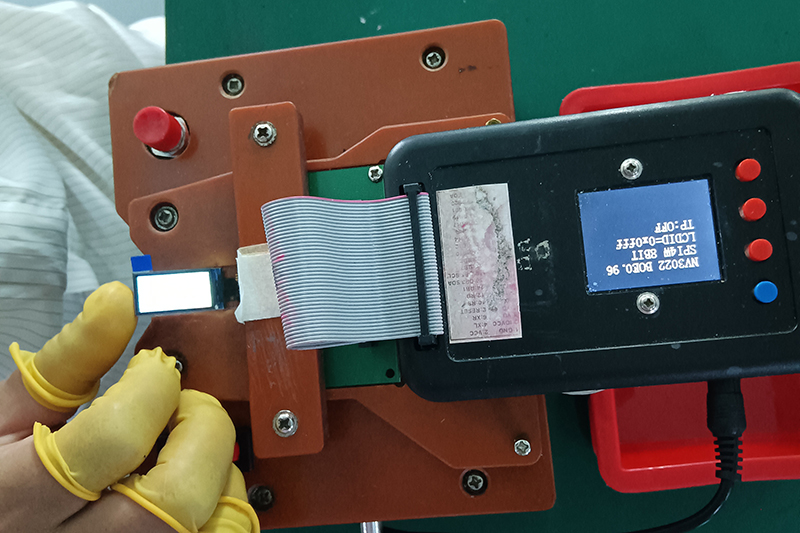
11. Electrical sampling

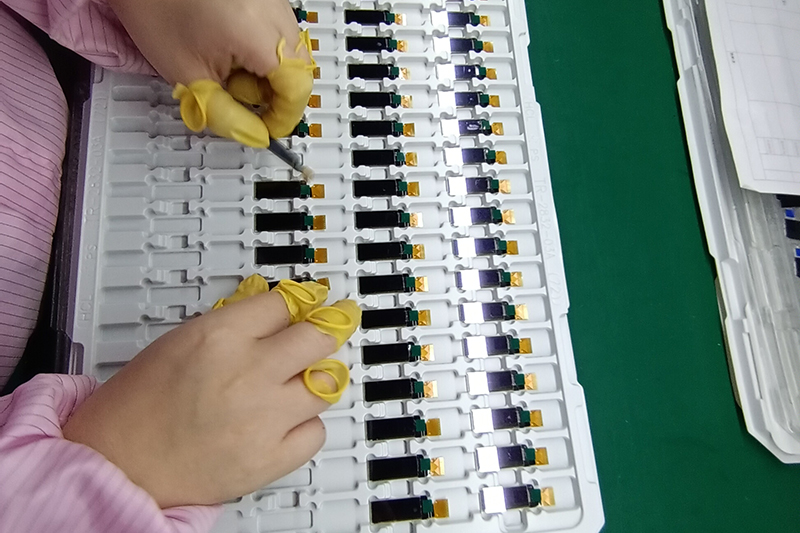
12. Line of glue
13. Cover glue
14. Blackout glue drawing glue
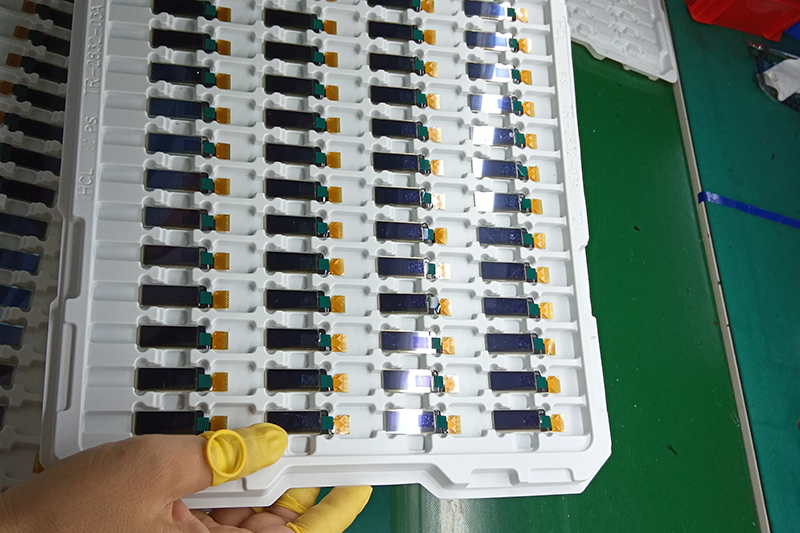
15. Visual inspection
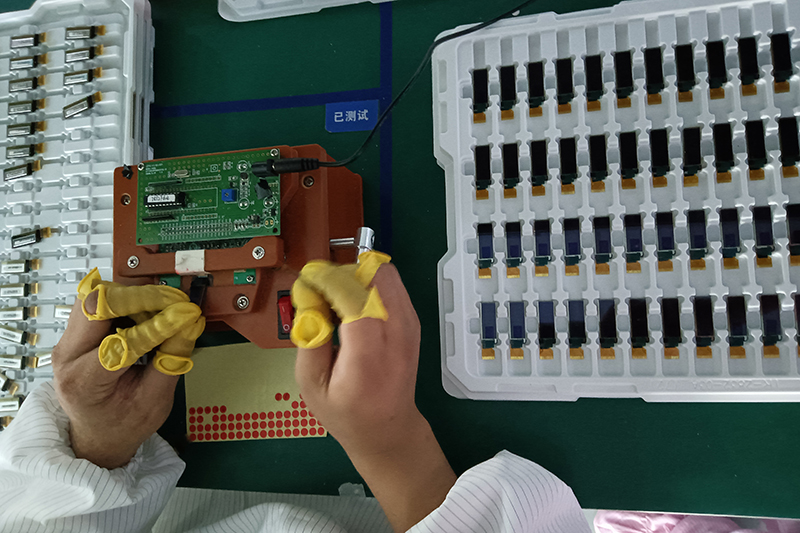
16. Electrical measurement
17. FQC sampling inspection
18. Packing and warehousing
TFT Production Process Diagram
●●●●●●●●●●●●●●
1. Cut
2. Go online
3. Patch
4. Clean the LCD terminal
5. COG pre-payment
6. IC preload
7. Intrinsic pressure
8. Pay after TAB
9. FOG prepressure
10. FOG local pressure
11. Electrical sampling
12. Line of glue
13. Line of glue
14. Cover glue
15. BL assembly
16. Print
17. FQC sampling inspection

18. Defoaming
19. Tape
20. Appearance
21.ET test
22. FQC sampling inspection